PALETTE BOX:
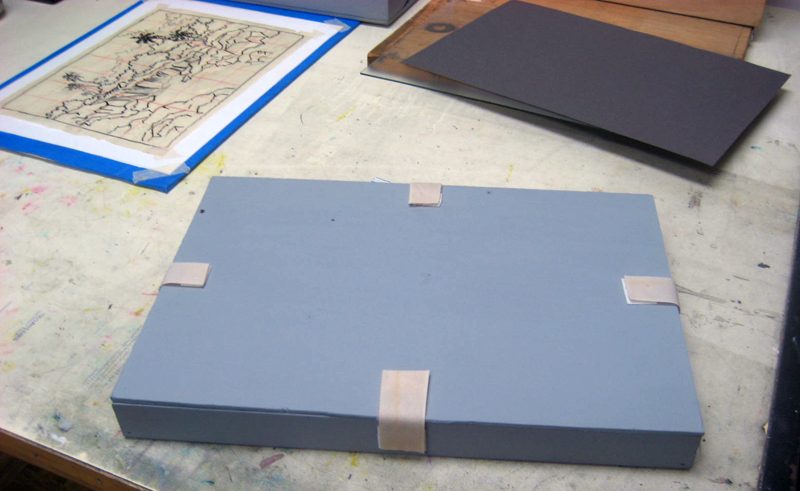
I already had two wooden boxes that contained pastel sticks so all I needed to do was to make a lid out of 1/8" thick finished plywood used for furniture making, I removed a non-glare glass from the frame of a watercolor painting hanging on the wall and cut it to fit inside the box, I already had the glass cutter. The box measures are: 10"x14"x 1" high and 1/4 " thick , I painted it in grey, then I put a grey sheet of Canson paper and the glass on top. I glued a 1/4" wide strip of "felt" all around the edge of the lid to make it airtight, then I applied a 1"- wide "Velcro" strip on each side to close it tightly. You may find a similar box in a Craft store or buy the materials at Home Depot and make it yourself, do not use nails unless they are very tiny finishing nails, I would prefer to use carpenter's glue instead. I am sure that you can do it, but if you need any further info. e-mail me.
I am showing here pictures illustrating how to proceed: Picture 1; shows the box after it was painted. Pictue 2; shows how to cut the glass. Picture 3; Placing the glass inside. Picture 4; Installing the Lid. Picture 5; Box with lid down. Picture 6; Finished and ready for use.


1 comment:
Jose just wanted to thank you for making these available for anyone to use......I followed your link from Johannes class thread. Much appreciated!! Shar.....
Post a Comment